MacOS
Step-by-step guide for the first time installation and unistallation of the Accessibility Tools on MacOS.
First time installation
- Download the Accessibility Tools installer file from the official website
- Run the installer
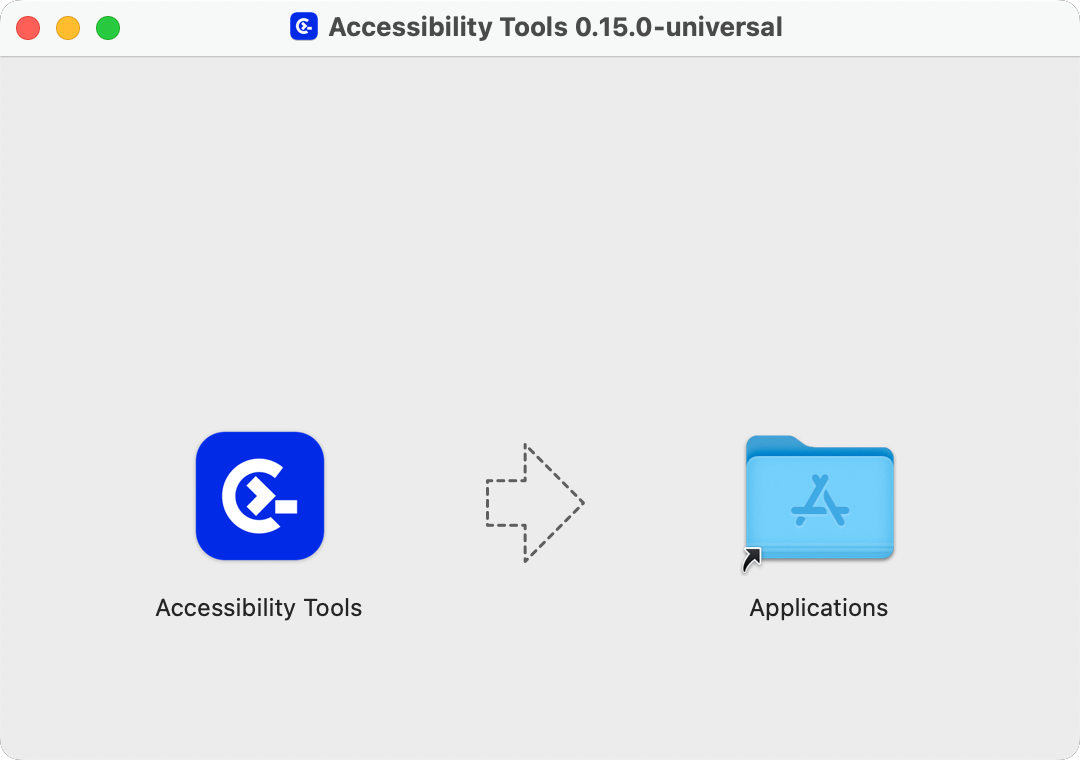
- Once the install is completed, you can find the app in the launchpad and open it. It is now ready to use.
Uninstall
- Go to your Applications folder and find the Accessibility Tools app.
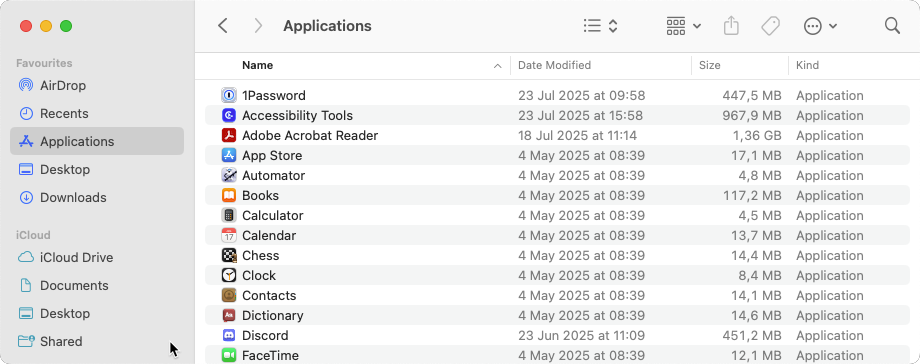
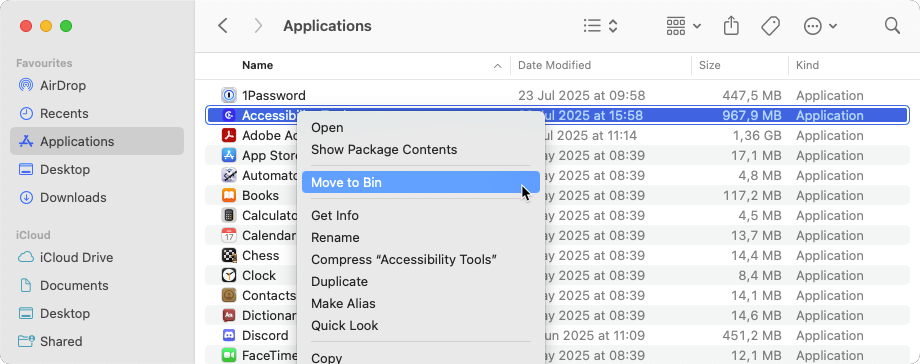
- Right click on the app name and select Move to Bin, but make sure you have quit the app before performing this step
- From your Finder screen, press Cmd + Shift + G and navigate to ~/Library/Application Support
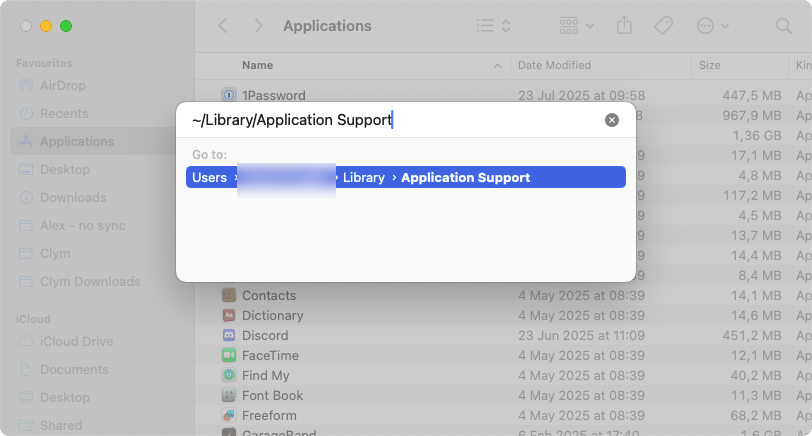
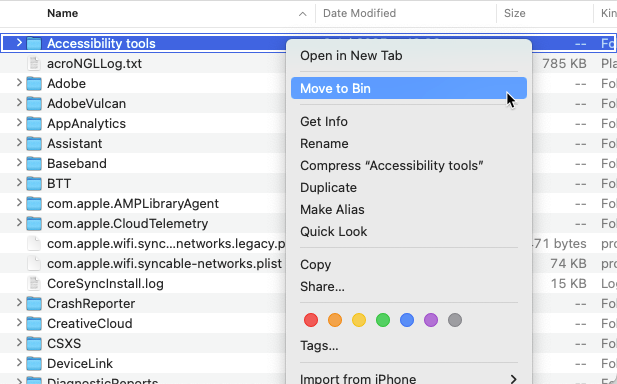
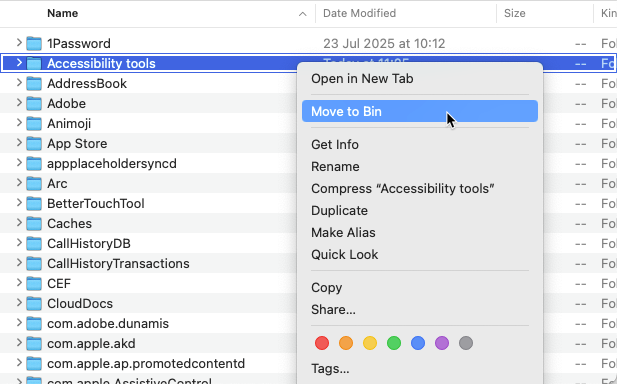
- Identify the Accessibility tools folder, right click and move it to the Bin
- Next, from the same Finder window, using Cmd + Shift + G again, navigate to ~/Library/Logs
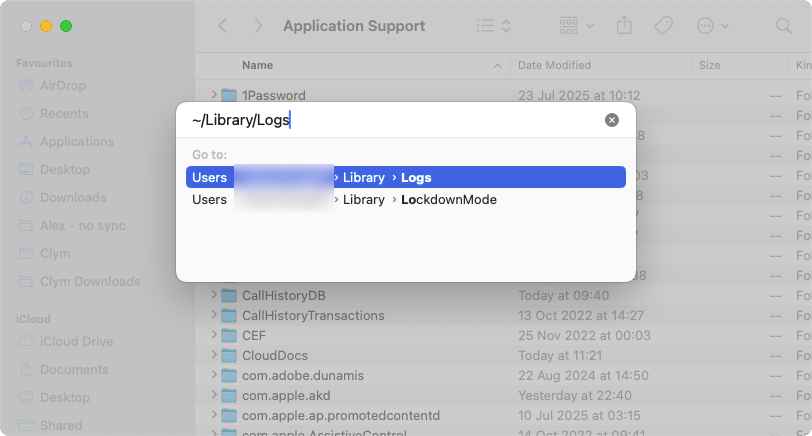
- Identify the Accessibility tools folder, right click and move it to the Bin